AirPiConsole part one
As a network engineer I spend a lot of time with my laptop connected via serial cable to various devices.
Physical serial connection is needed for initial device setup and sometimes per customer's security policy I can't access the network, so I can only use out-of-band management. I also configure many devices at staging lab that I call the "Theory room" because you know, in theory everything works ;-)
Long story short, in 2013 I bought an Airconsole and I really enjoyed the possibility to connect to serial ports over WiFi or Ethernet:
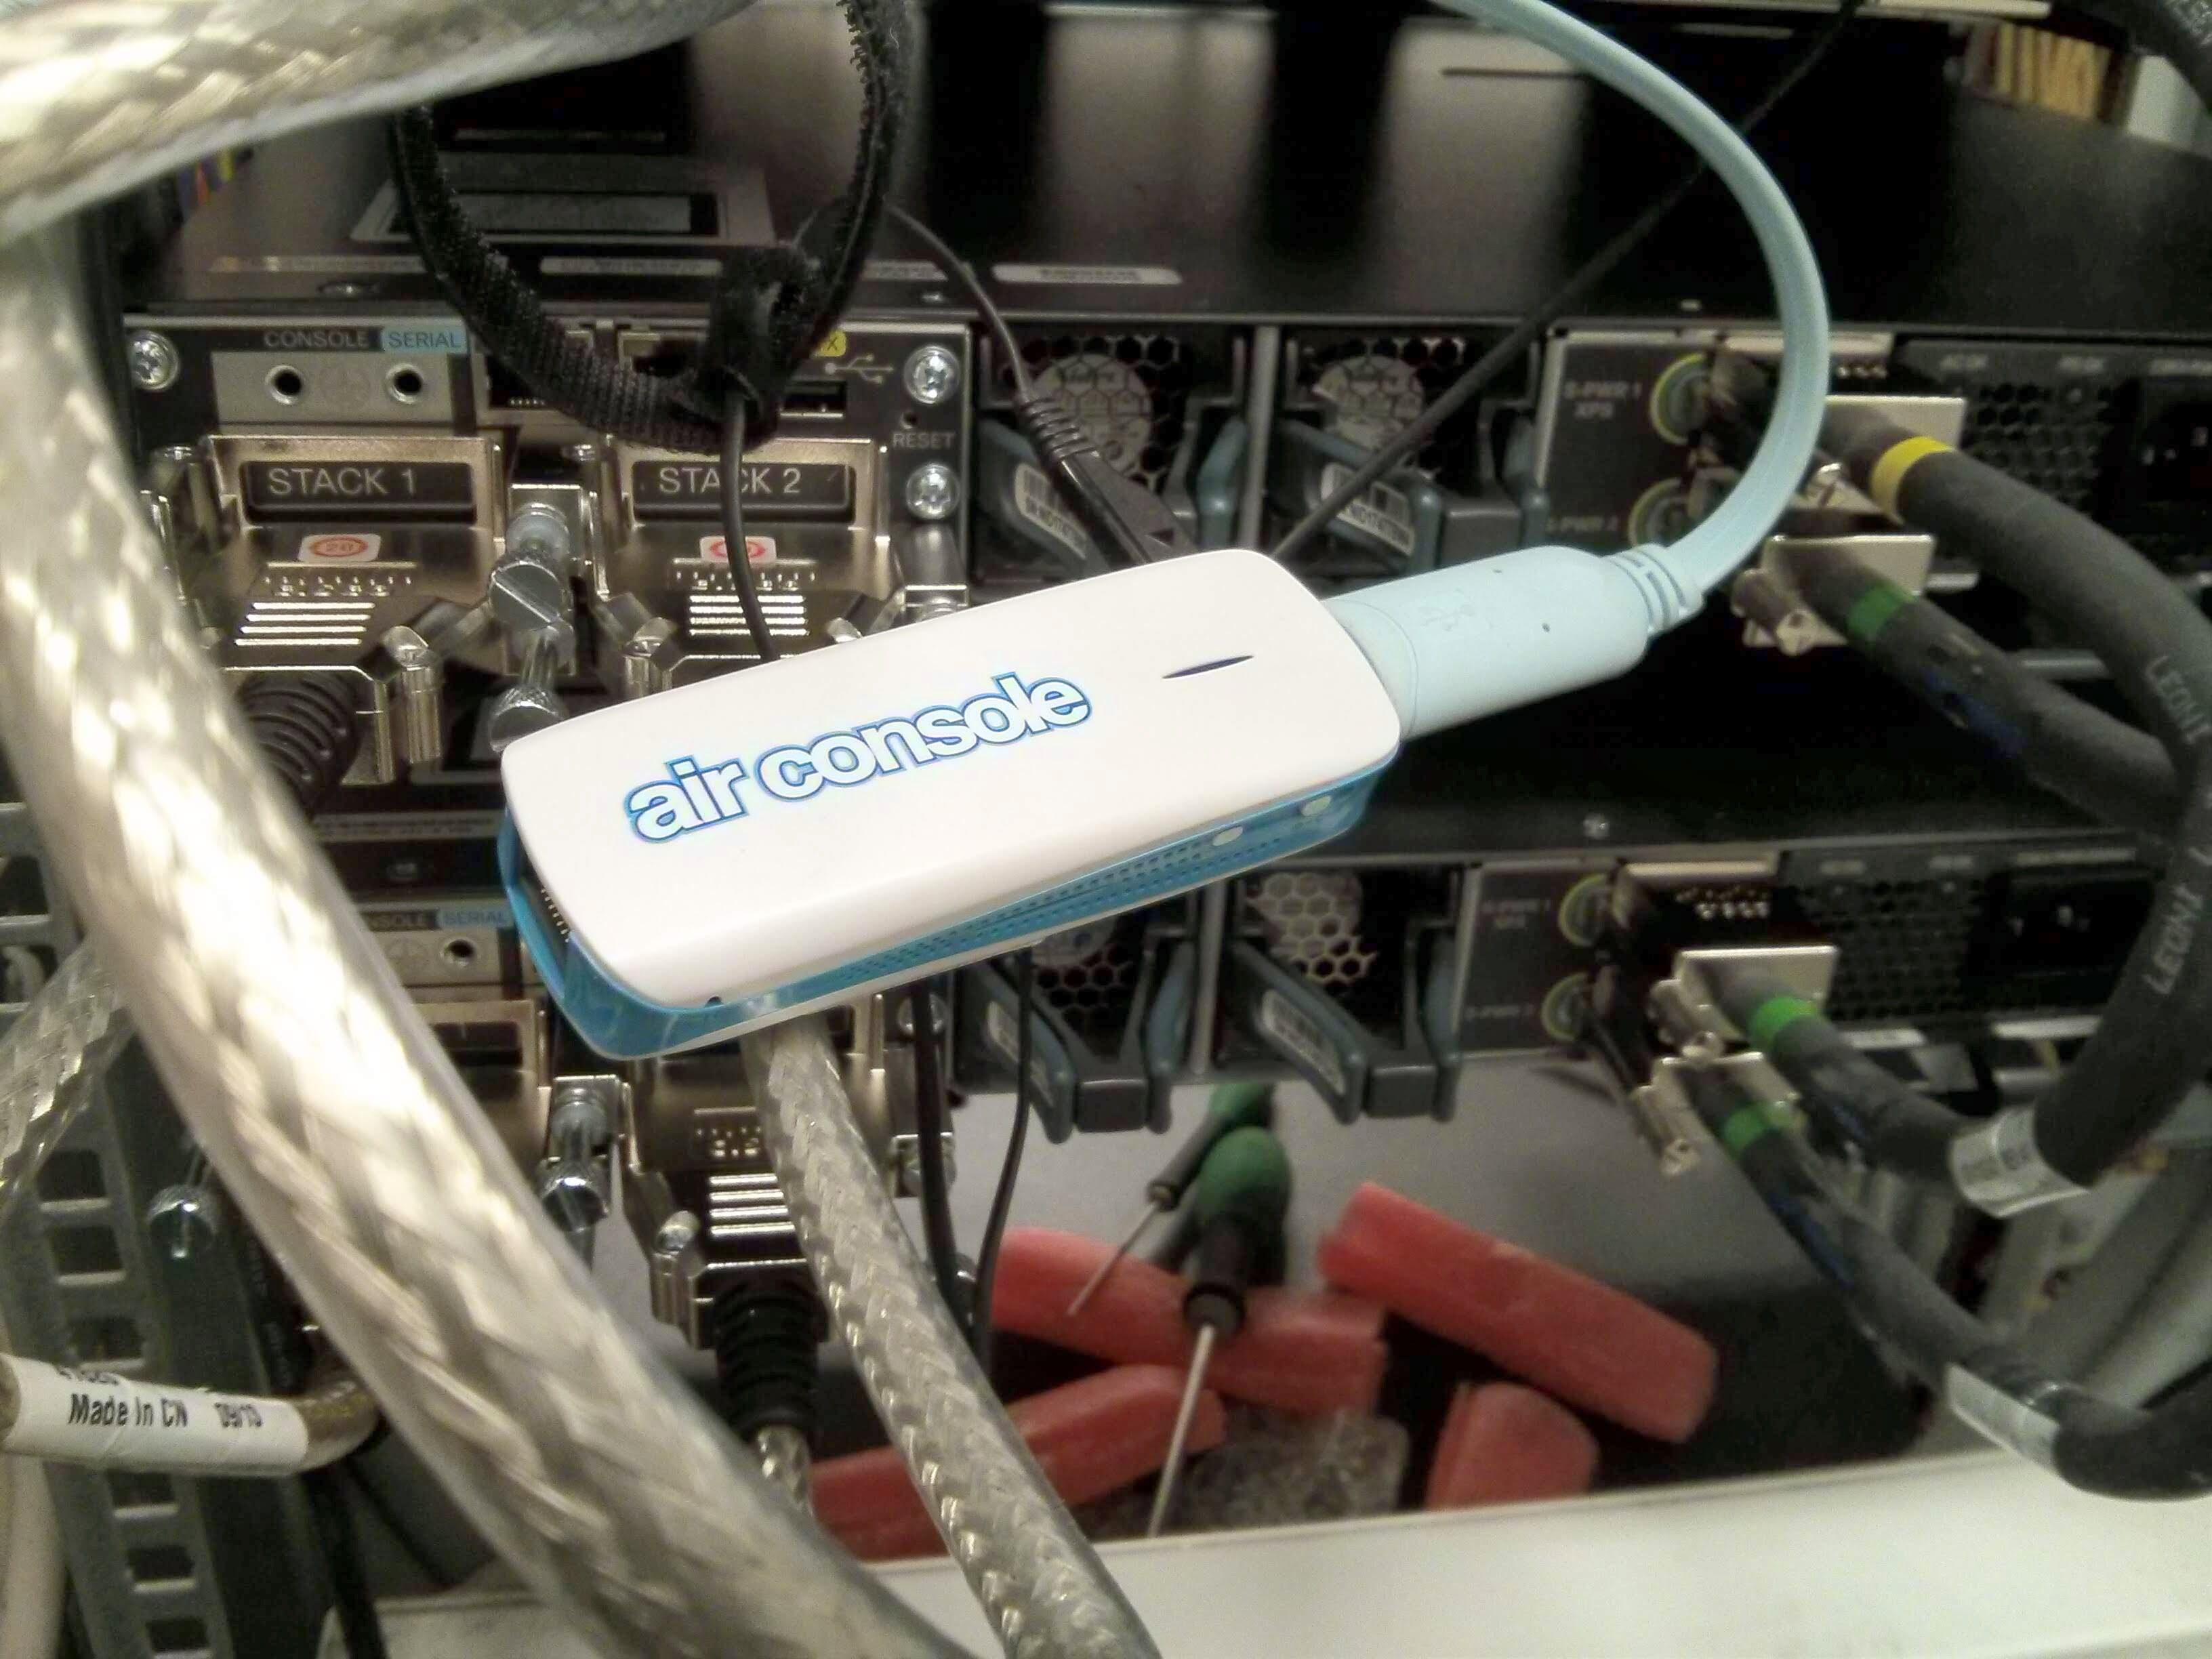
The problem is: Airconsole broke too soon, just after warranty expired.
I thought about replacing it with a new one but price + shipping + taxes was too high to justify the expense. On top of that I thought I could to something similar with more features and flexibility.
Then in February 2016 Raspberry Pi Zero W was released. It includes WiFi b/g/n and Bluetooth 4.1, it's small and }looks like a good candidate to replace an Airconsole.
Let's try.
Step 1 - get the hardware
Bought a starter kit on Amazon that includes:
- Raspberry Pi Zero W board
- offical case
- mini HDMI to HDMI adapter
- micro-USB to USB adapter
- other accessories and camera cable I don't need right now
I added a 32GB micro-SD card and a micro-sub to Ethernet dongle that includes 3 USB 2.0 ports.
Total expense: ~60 EUR
Step 2 - install OS and utils
The initial setup is well documented in many places, I'll skip the details here.
- download Raspbian
- Burn on SD card with ~~~Etcher~~~ Rufus
- put the SD card on the slot and boot
- expand FS with raspi-utils
- set ssh autostart with raspi-utils
Default credentials: pi / raspberry.
Connect to an HDMI monitor, connect a keyboard and start the setup.
It is possible to complete the setup without monitor and keyboard if you prefer so, plenty of guides available online.
Done!
Step 3 - connect to WiFi
To upgrade and install software on Raspbian we need to configure the WiFi connectivity.
Generate WPA pass-phrase with:
1wpa_passphrase MY_SSID >> /etc/wpa_supplicant/wpa_supplicant.conf
2<enter password and press enter>
Final result for /etc/wpa_supplicant/wpa_supplicant.conf should be like this:
country=GB
ctrl_interface=DIR=/var/run/wpa_supplicant GROUP=netdev
network={
    ssid="MY_SSID"
 	psk=fsfhjfhr8y98y9f83f99wer5f4r65e4rg6re45ge6r4gre
}
Set WLAN0 to get an IP address via DHCP editing /etc/network/interfaces:
1allow-hotplug wlan0
2iface wlan0 inet dhcp
3	wpa-roam /etc/wpa_supplicant/wpa_supplicant.conf
Reboot, it should now connect to your wireless network.
Verify
 1root@piconsole:~# iw dev wlan0 link
 2
 3Connected to c4:da:fd:16:dd:43 (on wlan0)
 4   	SSID: MY_SSID
 5   	freq: 2437
 6   	RX: 382313 bytes (3046 packets)
 7   	TX: 167102 bytes (1021 packets)
 8   	signal: -22 dBm
 9   	tx bitrate: 72.2 MBit/s
10   	bss flags:      short-slot-time
11   	dtim period:    1
12   	beacon int:     100
If it doesn't work double-check PSK and SSID name.
Now upgrade the software:
apt-get update; apt-get upgrade -y
Step 4 - Bluetooth
Install bluez:
1apt-get install bluez
Add this line to file /etc/bluetooth/main.conf under [General] section:
DisablePlugins = pnat
Enable bluetooth:
root@piconsole:~# bluetoothctl
[NEW] Controller AA:BB:CC:DD:EE:FF raspberrypi [default]
[bluetooth]# discoverable yes
Changing discoverable on succeeded
[bluetooth]# pairable yes
Changing pairable on succeeded
Now open Bluetooth preferences on your laptop/smartphone/tablet, you should see *raspberrypi listed. Complete the pairing.
Create a BT serial port, details HERE. No need to install Bluetooth Serial Terminal app.
Now you can use your favorite terminal app to connect via Bluetooth to the Raspberry. Open a serial connection. Verify you use the newly created "outgoing" serial port.
Serial port parameters are 9600/8/N/1
Step 5 - Power
Raspberry must be powered with a micro usb cable. Many switches and routers today have an USB port that could be used but usually they provide low power. I prefer a solution that allows to freely move the board without the need to reboot every time and permits enough work time, at least one full day.
I found an old power bank sitting useless around my lab, it's a 3000mAh model, that looks fine for the task so }let's measure how long it lasts with a simple logger.
Create this simple script in cron:
root@piconsole:~# cat /etc/cron.d/uptimelog
*/5 * * * * root uptime >> /var/log/uptime.log
and left it on overnight with BT and WiFi turned on.
Check the result:
root@piconsole:~# more /var/log/uptime.log

05:50:01 up  9:17,  2 users,  load average: 0.00, 0.00, 0.00
Over 9 hours looks good!
I noticed afterward the power bank wasn't fully charged at the beginning but that's ok, plenty of time already.
We should expect less autonomy with actual traffic and some console cables/usb adapters connected.
Wrap-up part one
We should now have a working Raspberry with WiFi and Bluetooth connectivity to access the console.
Follow PART TWO to add more features to this tiny but powerful board.